Installing SDK and Toolchain for ESP8266 WiFi SoC

This short tutorial will guide you to install the toolchain (which includes the gcc compiler) for the ESP series of SoC, discuss the steps to write code using the ESP SDK and finally load the compiled code to the SoC and run it. These will be useful for you if you are developing IoT based applications. In this way you don’t need to attach external microcontroller to the ESP module to run your code, you can run code directly on the ESP which will make your application simple, small and low cost. But one drawback is that the application code you write resides on the external flash chip of the ESP modules and can be read by anyone using a flash programmer. Thus your code is not secure from duplication. So, let us first download and install the toolchain use the following link to download the toolchain https://docs.espressif.com/projects/esp8266-rtos-sdk/en/latest/get-started/windows-setup.html download is a ZIP file which you need to extract to your harddisk say on C:\ drive. It will create a folder named msys32 This folder contains four executable file, you need to run the file mingw32.exe You will get a console window like shown below Actually it is a Linux OS like shell (command) window. So you need some familiarity with Linux Shell commands to operate it. Now the first step […]

Migrating from AVR to STM32 (ARM)

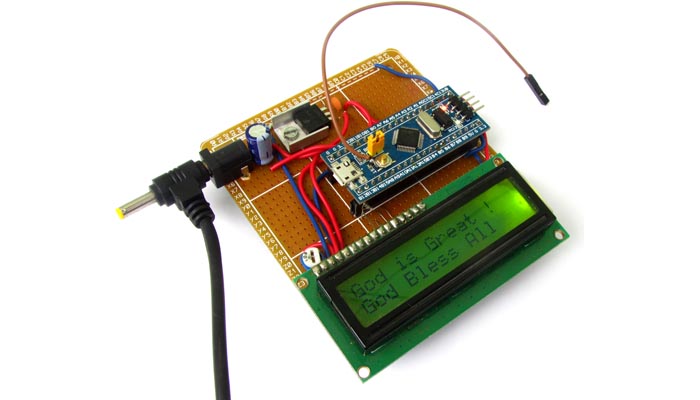
If you are a developer who is experienced in Atmel AVR similar  8 bit microcontrollers now triying to upgrade your skills and move to ARM microcontrollers, this guide will help you know what are the difference you will face on this new platform. So now let us start. Crystal Oscillators and PLLs In good old days, when you wanted to run your AVR microcontroller at 8 MHz or 16 MHz, you simply put a crystal oscillator of that frequency.You can look at a board and if the board has 16MHz crystal you became sure that this board is running at 16MHz. Then you look at a 32bit ARM based board and see it has a crystal of 8MHz, you cry deep in heart and wonder why this poor microcontroller is running at the speed of a snail 🙁 Wait! this is not true! This beast is not running at 8MHz! Here comes the first new concept of this new domain, the PLL. The PLL stands for phased lock loop. Wait, wait, wait! Don’t get scared of this term! From your point of view, that is a software developers point of view this is a very simple thing which multiplies the input frequency and makes it large. So in all ARM based hardware you will find small value crystals like 8MHz […]

LED Display for Gold Rates

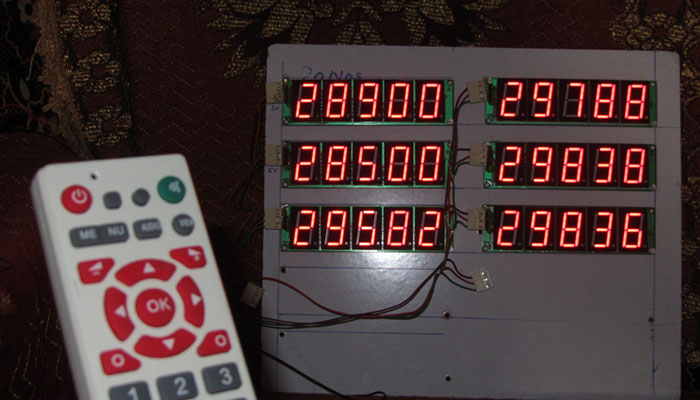
Learn how to make a LED based display system for jewelery stores for showing current rate of gold. The system is operated using a IR remote and displayed digits could be updated easily using the remote. This tutorial on Digital-Wizard explains in details the complete procedure to make such a system. Read more …

How to use ST-LINK to program STM32

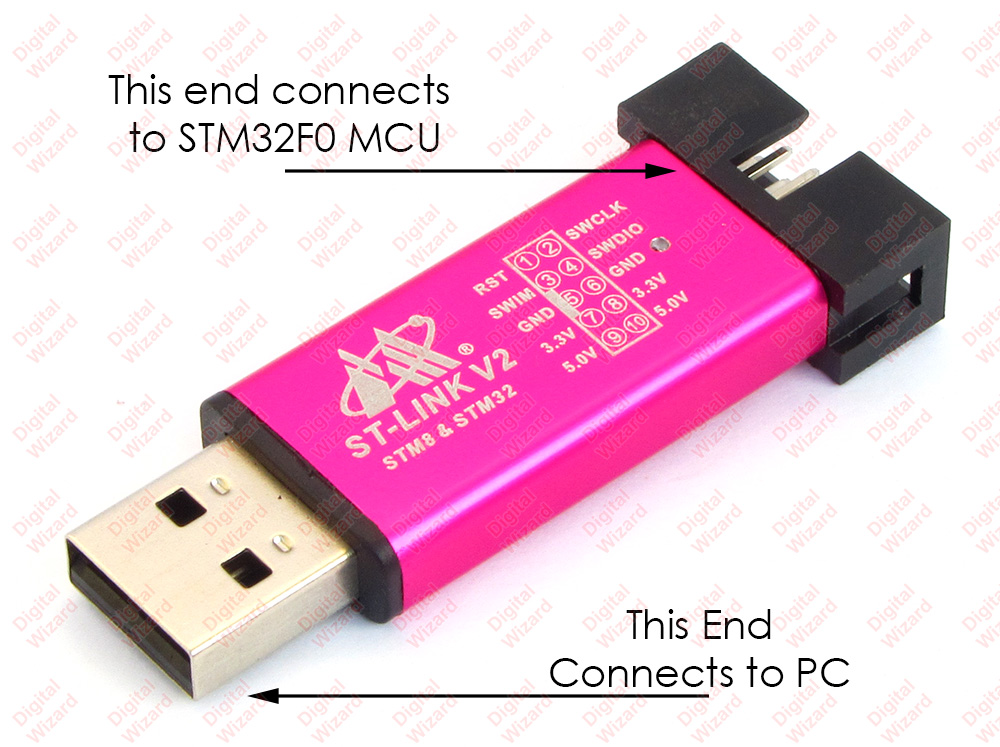
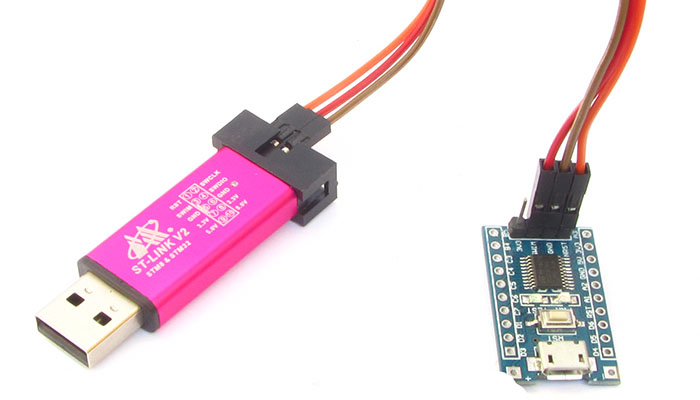
Learn how to program a STM32F0 32 bit ARM based microcontroller with a low cost ST-LINK USB Dongle. This tutorial on Digital-Wizard explains in details the complete procedure so that easily use your ST-LINK with any STM32F0 microcontroller. Read more …

How to interface DS18B20 with AVR ATmega8

Learn how to read data from a one-wire digital temperature sensor like ds18b20. This tutorial on Digital-Wizard explains in details the complete procedure so that easily use your DS18b20 sensor with any AVR microcontroller. Read more …

Programming STM8 MCUs

Learn how you program an STM8 MCU using a ST-LINK Programmer. This tutorial on Digital-Wizard explains in details the complete procedure so that easily program your STM8 MCU without any trouble. Read more …

Token Number Display Project

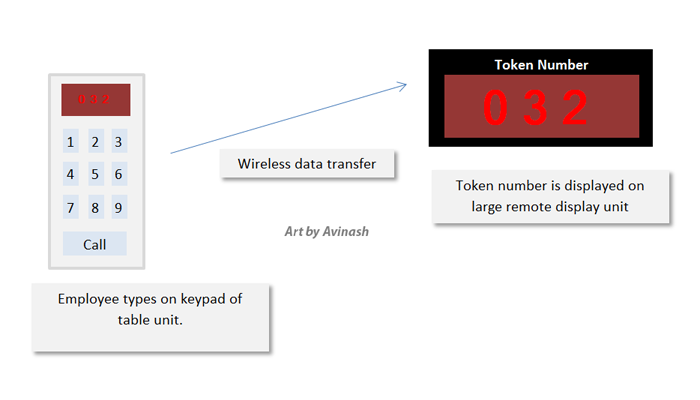
This article on Digital Wizard describes how to make a token number display system using AVR ATmega8 microcontroller. The article has everything including detailed schematics, program, and Proteus simulation files. This makes it very easy to fabricate even by a new user. Read more

Making a LED Message Display using ATmega8 and P10

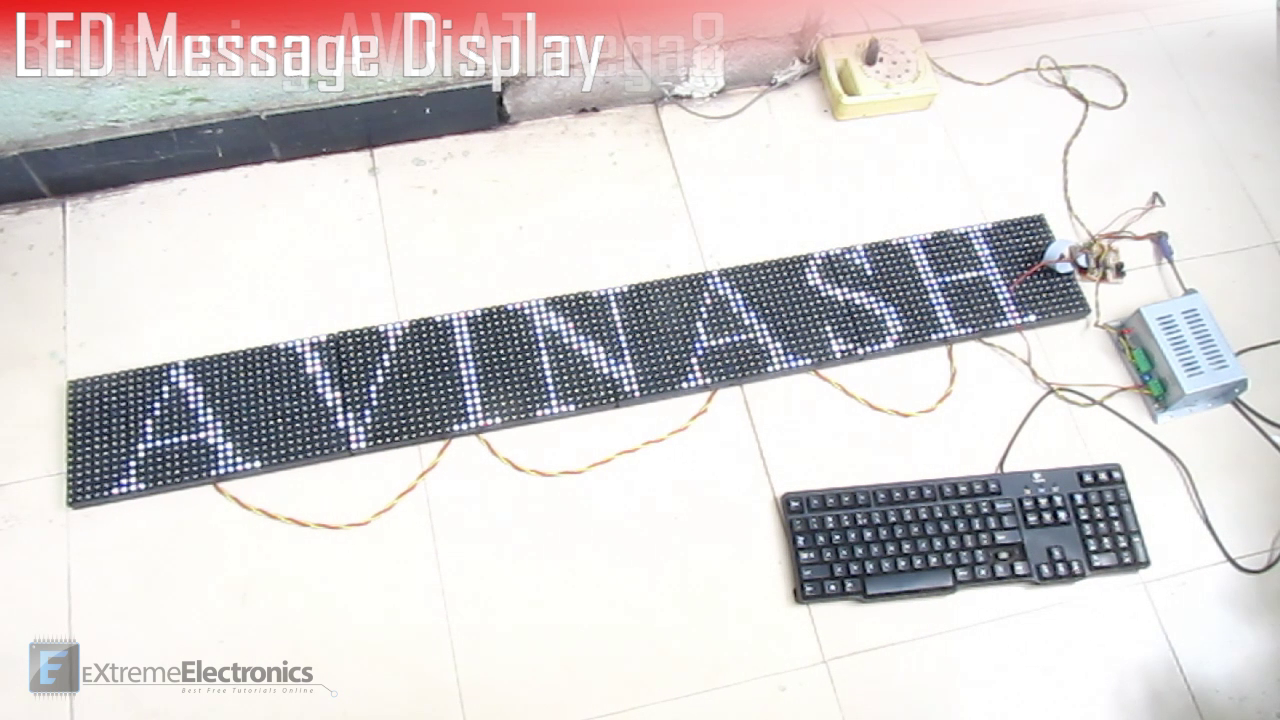
This LED moving message display is four feet in length and six inches in length. Horizontally their are 128 leds and vertically 16. It can show message in English language scrolling from right to left. The system is made using four P10 led display modules and ATmega8 as microcontroller. It has PS/2 keyboard interface that is used to enter message to the board. To enter text, keyboard is connected and Esc key is pressed, this brings the device into text entry mode. After this the whole message is typed using keyboard, at the end of message Enter key is pressed, this saves the message in internal EEPROM of the ATmega8. Now the keyboard can be removed. Read more …

Interfacing DHT11 Humidity Sensor with PIC MCU

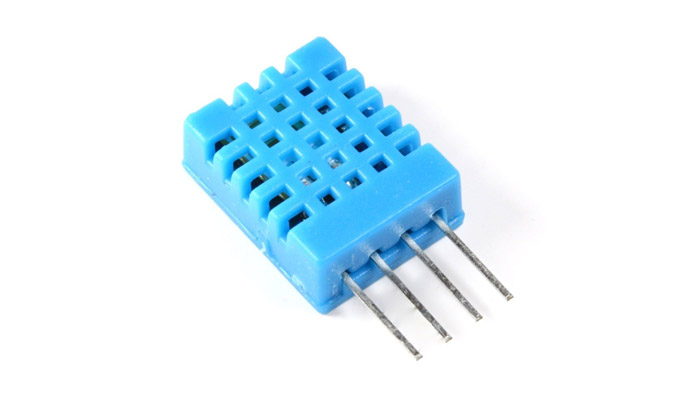
This article on DigitalWizard describes how you can easily interface DHT11 humidity sensor module to a PIC microcontroller. A working C program is developed to command the sensor to start measurement and then send the data to microcontroller. The data sent from the sensor is in form of a special serial format that is decoded by the MCU to get the humidity and temperature information which is finally shown in LCD. Please click here to read more.